We are always scouting the World Wide Web to source for interesting ideas that we can learn from.
So this week we came across a really cool and easy way to make a knotted bracelet out of polymer clay.
Do note that you can use Sculpey, Fimo, Permo or any kind of polymer clay you can get your hands on. The wonderful thing about this clay is that it is really flexible to work with and comes in so many brilliant colours.
Polymer clay when kneaded well rarely cracks when you bake them. It's also pretty tough against hard knocks. So have a read on this easy fashion DIY and let us know if you tried it at home.
---
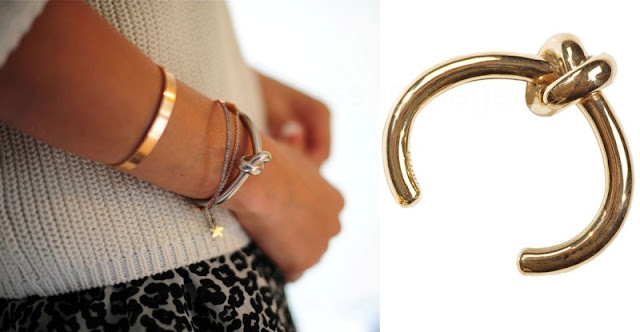
I have been lusting over the Celine Knot bracelet for months and have been extremely unlucky in finding it. I figured it was time to get over it by making something similar while hunting down other autumn necessities. Given my current color obsession I decided to get adventurous and not just go for a metallic version.
Inspiration
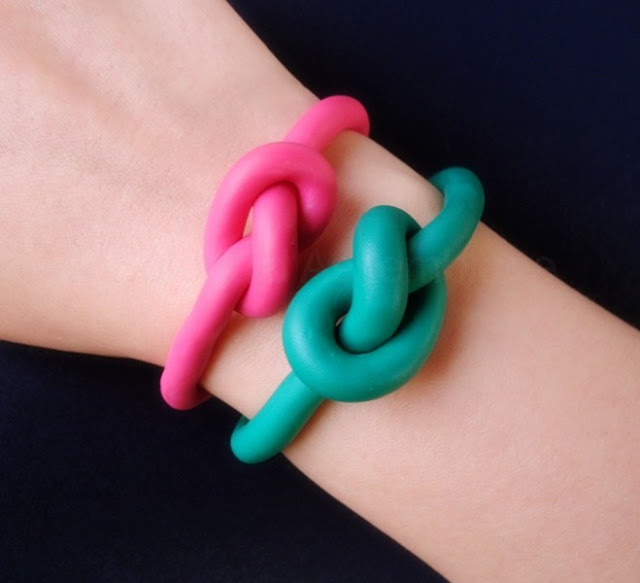
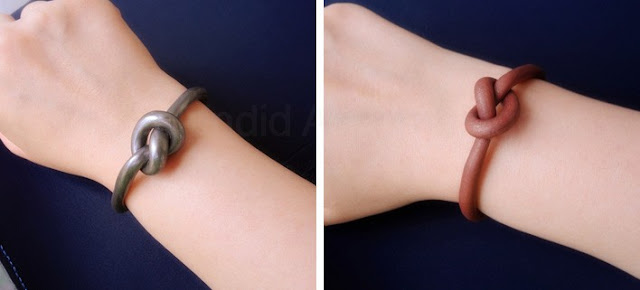
My DIY version
You will need:
- polymer clay
- a jar or thick glass bottle
- an oven (:p)
- acrylic colors or spray paint (optional)
- an oven (:p)
- acrylic colors or spray paint (optional)
The jar or glass bottle will determine the size of the bracelet so pick one with a diameter close to that of your wrist. The temperature that you will bake it will not be so high as to break it but do pick a thick one.
Turn on your oven adjusting the temperature according to your clay's instructions.
Start by conditioning a piece of polymer clay and knead it until it is soft.
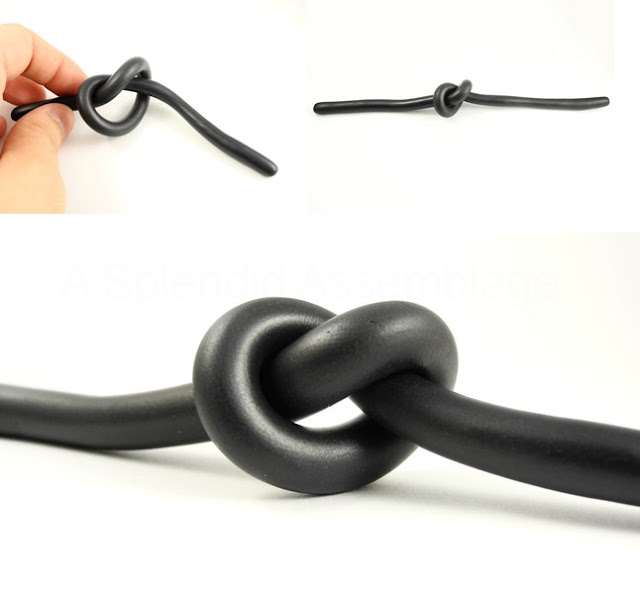
Roll your clay into a tube approx. 1 inch longer than the diameter of your wrist. The tube can be as thick or thin as you want your bracelet to be. I have made both chunky and thinner versions that you can see in the pictures above. Grab the two ends and while handling the clay softly tie them into a loose knot.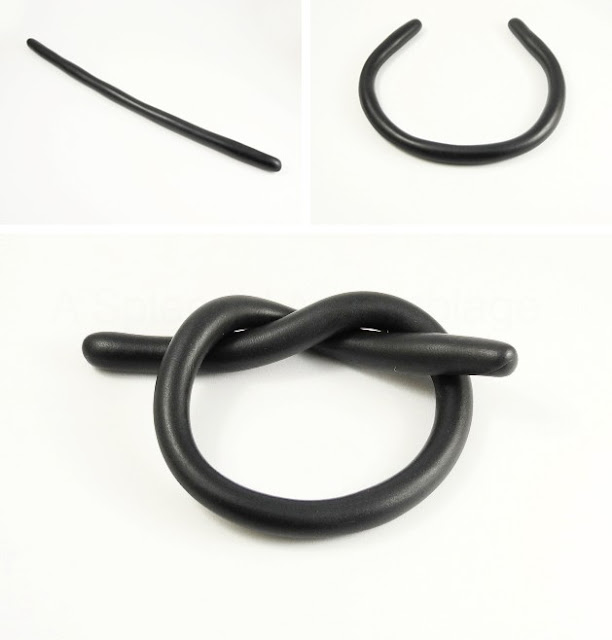

Softly pull the two ends so that you tighten the knot.
Get your jar and wrap the bracelet(s) around it.
Put the jar with the bracelets in the oven. The time you need to bake them depends on your clay's instructions so read the label beforehand.
Put the jar with the bracelets in the oven. The time you need to bake them depends on your clay's instructions so read the label beforehand.
Carefully remove the jar from the oven and let the bracelets cool. Be careful not to touch them while hot and not to bend them while still warm.
Once they have cooled you can use acrylics or spray paint to color them.
You can brush on Craftiviti gloss or metallic acrylic paints for added effect.





No comments:
Post a Comment