A cheaper alternative to buying candles would be making them, and while it’s a fun craft where you’ll have complete control of how your candle looks and what would go in it, there are also risks and problems you can stumble into.
At Craftiviti, we often hear from our customers about the issues they face while making their own candles at home, and have come to notice that there are 9 common ones. So, for today’s blog post, we’ll be sharing with everyone our knowledge on these common candle making mistakes, why they happen and how they can be resolved 
1. When burnt, the candle emits smoke.
Among the possible causes for this would be:
a) a high fragrance/essential oil content
b) over-wicking a.k.a. the wick is too large for the candle
c) air pockets in the candle
a) a high fragrance/essential oil content
b) over-wicking a.k.a. the wick is too large for the candle
c) air pockets in the candle
How to avoid/fix them:
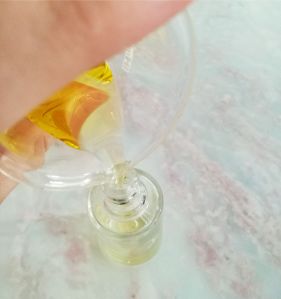
a) decreasing the amount of fragrance/essential oil content. For our waxes, we generally recommend adding no more than 10-12% of the total weigh of wax used per candle.
b) within a series of wicks, the larger the number the larger the wick. However, it should be noted that different waxes, fragrance/essential oils and even the colorants used can affect the burning of the candle.
c) you can warm up the container (for glasses and ceramics).
~ * ~
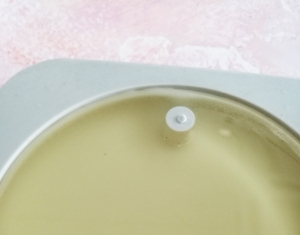
2. Cracks, holes and/or air pockets in the candle.
This is caused by the presence of water in your mould/container. Even the tiniest amount of moisture can cause a crack or hole to appear in your candle so it’s best to ensure that your mould/container is entirely dry before you pour in the wax.
Another possible cause is the temperature of the wax when you pour it into your mould/container. A lower than recommended temperature when pouring can cause air pockets in your candle. Thus, to avoid air pockets from forming, you can either warm up your container (for glass or ceramic ones only), or reheat your wax.
~ * ~
3. Candle doesn’t burn evenly.
This happens when the wax you use has a too-high melting point (or it’s just too hard) and/or the wick used is too small. You can easily solve this by blending or changing waxes, or using a bigger wick/multiple small wicks.
~ * ~
4. Colour change
Your candle having changed colours is a common occurrence. As wax cures over time, the colour of a candle can eventually darken over time. Or, if the colour changes as soon as the wax has cooled, then it’s probably because the wax was too hot when your poured it.
*Note: Always store your candles away from direct sunlight while they’re curing because they can affect the colour as well!
*Note: Always store your candles away from direct sunlight while they’re curing because they can affect the colour as well!
If you’ve multiple coloured waxes in a container, there’s a chance of the colours bleeding into each other as well. To avoid this, always allow the wax to harden entirely before pouring in more. Though, remember to pour the next layer at the correct temperature! Too hot and your previous layer might melt and cause the colors to bleed. Too cold and you might risk the presence of air pockets, cracks or holes!
~ * ~
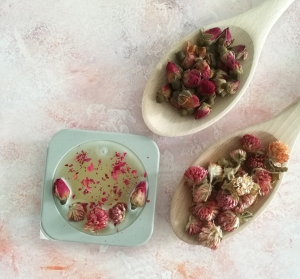
5. I can’t smell anything from my soy candle when it burns.
Generally, soy wax has a good cold scent throw (a.k.a. it smells amazing when the wax isn’t hot) but very little hot throw. (a.k.a. you can’t smell anything when it’s hot/melting). If you’d like for it to release a strong aroma when it burns, you can use a blend of waxes like beeswax and soy wax, or palm wax and soy wax.
~ * ~
6. The candle wick drowns out.
Usually happens when:
a) your wick is too small for your candle diameter
b) you’ve poured your candle above the point where your container changes shape (ie: the neck of the container)
c) you’ve cut your wick too close to the wax.
a) your wick is too small for your candle diameter
b) you’ve poured your candle above the point where your container changes shape (ie: the neck of the container)
c) you’ve cut your wick too close to the wax.
This can be fixed by:
a) switching to a larger wick
b) ensuring that the candle doesn’t reach the point where the container changes shape
c) by leaving at least 1cm of space between the tip of the wick and the wax.
a) switching to a larger wick
b) ensuring that the candle doesn’t reach the point where the container changes shape
c) by leaving at least 1cm of space between the tip of the wick and the wax.
~ * ~
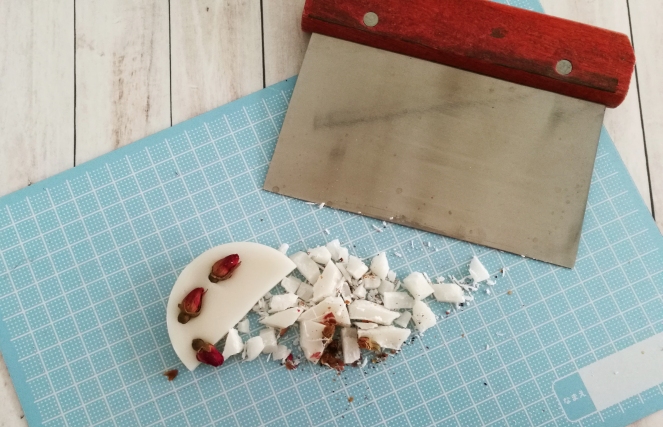
7. I can’t demold my pillar candle!
A likely reason as to why this happens is that your wax is too hot when you’ve poured it into the mold. The best way to ensure that this doesn’t happen again is to wait a little after melting the wax before pouring it.
Though, if you’re stuck in this situation right now, try placing your the stuck candle in the refrigerator for a few moments. Once it’s cold enough, you can slide the candle out more easily.
~ * ~
8. The colorant is sitting at the bottom of the candle.
This happens especially when you’re using powder colourants like mica powders or cosmetic pigments. A way to decrease the occurrence of this is to give your melted wax a stir before every pour, or you can make a paste with your powder pigments with a tiny bit of carrier oil before mixing in with your wax.
~ * ~
9. My candle is too soft!
A likely reason as to why this happens is the presence of too much oil. Reduce the amount of fragrance/essential oil used and it should be fine.
We hope this post helps! 

Pssst, we're also available at Craftiviti.com!


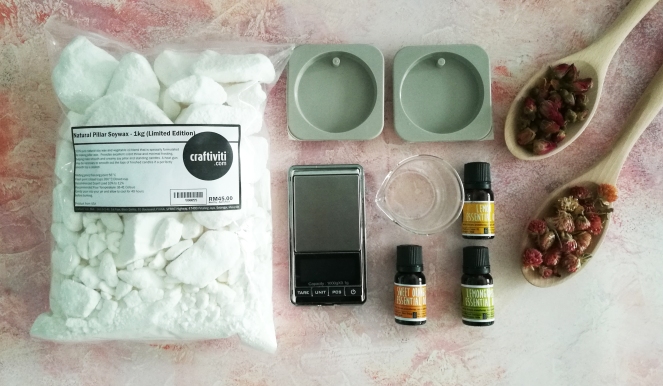
 we used